
Prerequisites
- Your Deck API credentials. Quickstart Guide
- A webhook endpoint configured and ready to receive webhooks. Quickstart Guide
- Source GUIDs for the data sources you want to connect to. Sources Guide
Flow Diagram

Integration Guide
1
Install the SDK
Add the Auth SDK script to your application. Supported platforms include React, Next.js, Expo, Vue, Angular, TanStack, and vanilla JavaScript.For React/Next.js: Dynamically load the script in a
useEffect:2
Set up environment variables
Configure your Deck API credentials as environment variables. These are required to generate SDK tokens and must never be exposed in frontend code. Both keys are available in your Dashboard..env
3
Generate a SDK Token
Create a server-side API endpoint to generate SDK tokens. Specify which data sources to make available using Response:
source_ids.The source_ids parameter controls which data sources appear in the Auth SDK for your users to select. You can specify one or multiple sources. Find source GUIDs in your Dashboard or the Sources guide.Link tokens expire after 30 minutes and are one-time use.
4
Initialize the SDK
Add a button to your page that will launch the Auth SDK:Then fetch a SDK token from your backend and initialize the SDK:
5
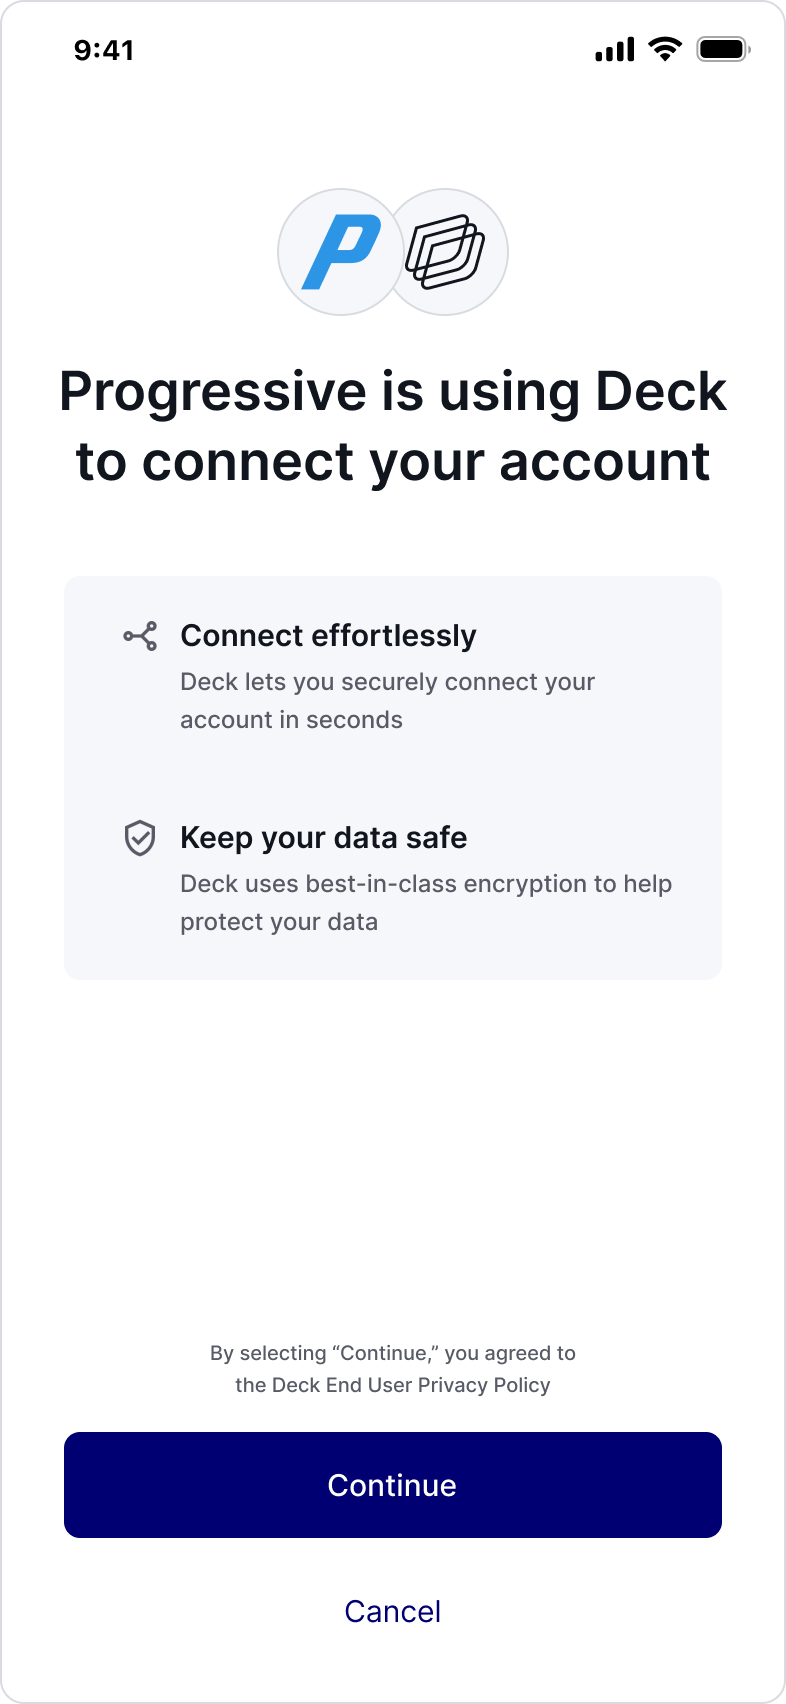
User Connects Their Account
When the user opens Auth SDK, they will:
- Consent to connect their credentials via Deck to your product.
- Select their data source from the options you chose to present them when creating the token
- Enter their credentials for the source they are connecting to.
- Complete any MFA challenges
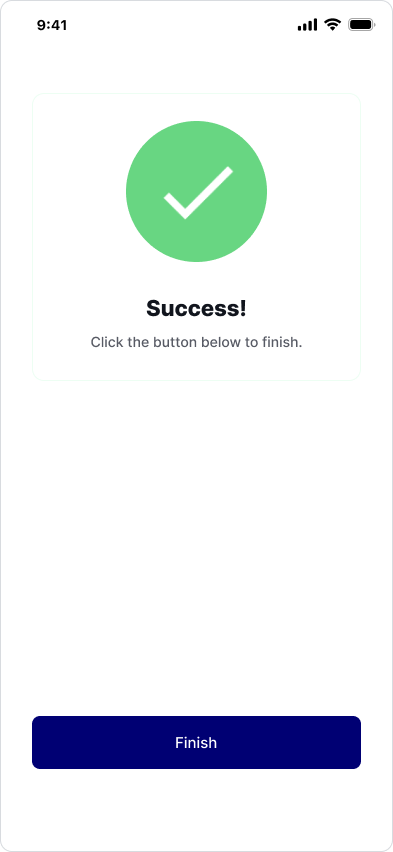
onSuccess callback receives the job_guid, and your webhook receives both the access_token and job_guid.6
Receive access tokens via webhook
Create a webhook endpoint to receive access tokens after successful authentication. Configure the webhook URL in your Dashboard.Expected Webhook Payload:
7
Use Access Tokens to Run Jobs
Once you receive the
access_token via webhook, use it to run jobs on behalf of the user. Jobs can read data (e.g., fetch documents, invoices) or write data (e.g., submit orders, update records).See the jobs guide for more information on available jobs and how to run them.Customization Options
You can customize the Auth SDK’s appearance and behavior by passing additional parameters when creating the SDK token in Step 2. See the complete API reference for all available options.Language
Language
Set the SDK’s display language:Supported languages:
EN (English), ES (Spanish), FR (French), PT (Portuguese), DE (German)Filter by Source Type
Filter by Source Type
Limit sources by their type (e.g., utility, telecom, logistics):
Update Mode
Update Mode
Launch the SDK in update mode to refresh an existing connection:Use this when a user needs to update their credentials or re-authenticate due to password changes.
Custom Webhook URL
Custom Webhook URL
Override the default webhook URL for this session:
Browser Support
Deck officially supports the Auth SDK on the following browsers:SDK Reference
Initialization Parameters
string
required
The token is required to launch the Auth modal. Tokens expire after 30 minutes and are one-time use.
function
required
Callback function called when a connection is successfully created.Receives:
{ job_guid: string }function
Callback function triggered when the SDK encounters an error.Receives:
{ reason: string }Common error reasons:InvalidCredentials- Username or password is incorrect
function
Callback function triggered when a user closes or exits the SDK without completing the flow.
SDK Functions
open()
open()
Displays the Auth SDK and starts the authentication flow.Call this method when the user clicks your “Connect Account” button.
exit()
exit()
Closes the Auth SDK programmatically and triggers the Use this to close the SDK from your code (e.g., after a timeout or user action).
onExit() callback.