- Connect to their end-users’ accounts on medical portals
- Retrieve specific data
- Update the payment information
Step 1: Make a free account
If it hasn’t been done already, you will first need to create a free account.This will generate an Client ID and Sandbox secret in your API Keys page of your Dashboard. You will need these to make calls to our API Endpoints (Steps 5 and 6).
Step 2: Create your Link
Go to the Links page, and click the “New Link” button. Browse the Links via keywords, or create your own using the Link Builder. For more details on how to do this, please refer to the Links page. For this example, we will be using a public template called “Pay medical bill / set up payment plan”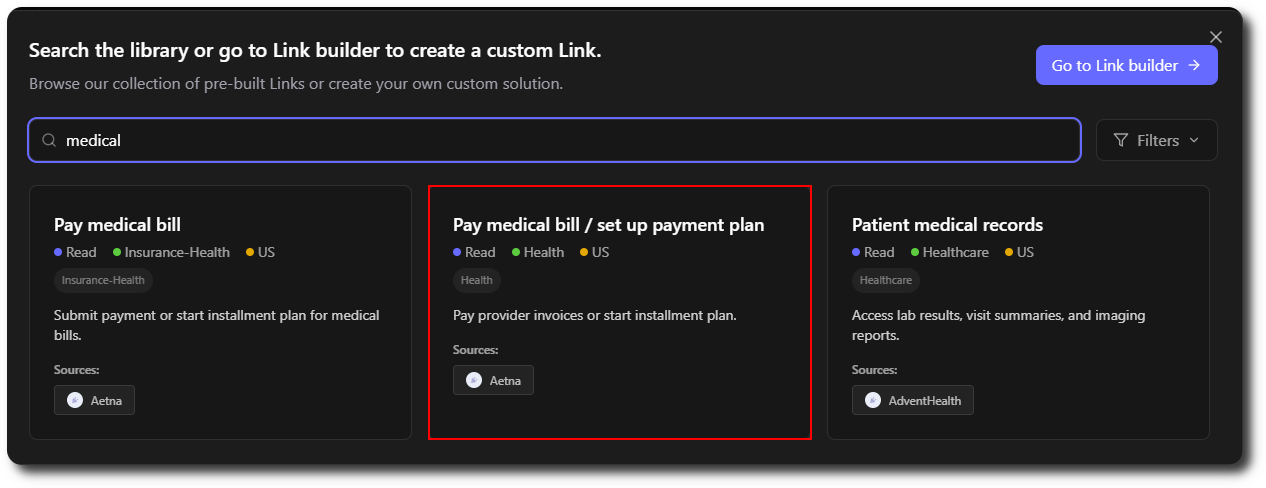
Step 3: Review your Link
After the Link has been created, you will be redirected to the details of your Link. Check that:- You have all the input information to make the jobs work.
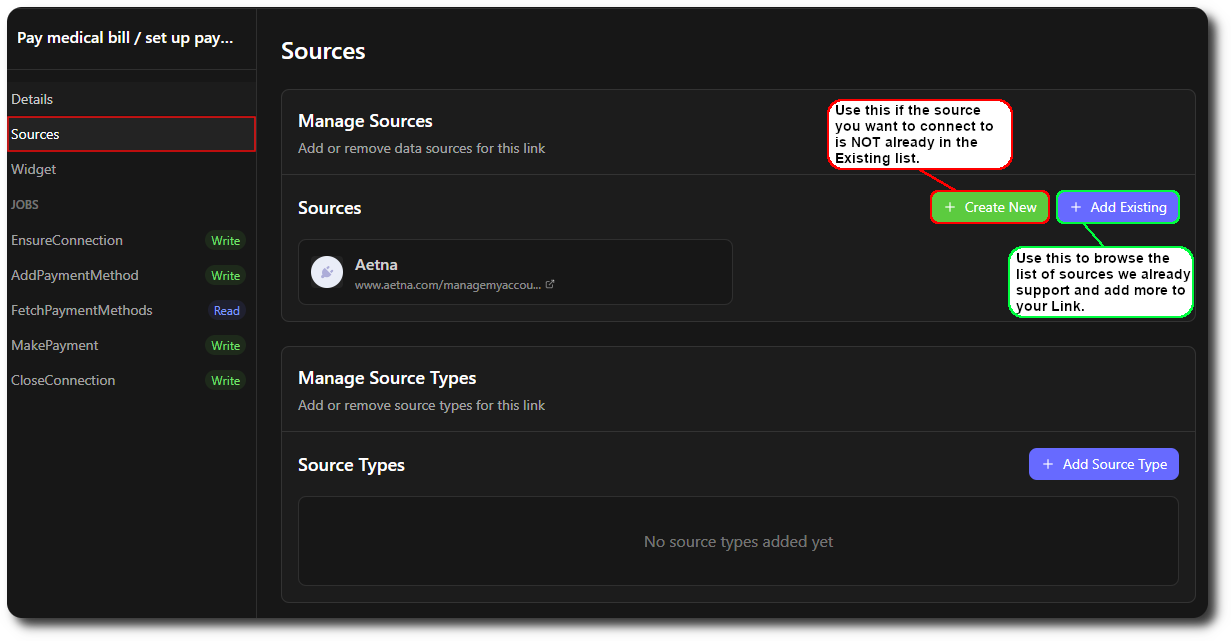
- All the sources you want to connect to are listed. You can add or remove sources from the Sources tab.
- The Widget displays what you expect. You can see a preview from the Widget tab.
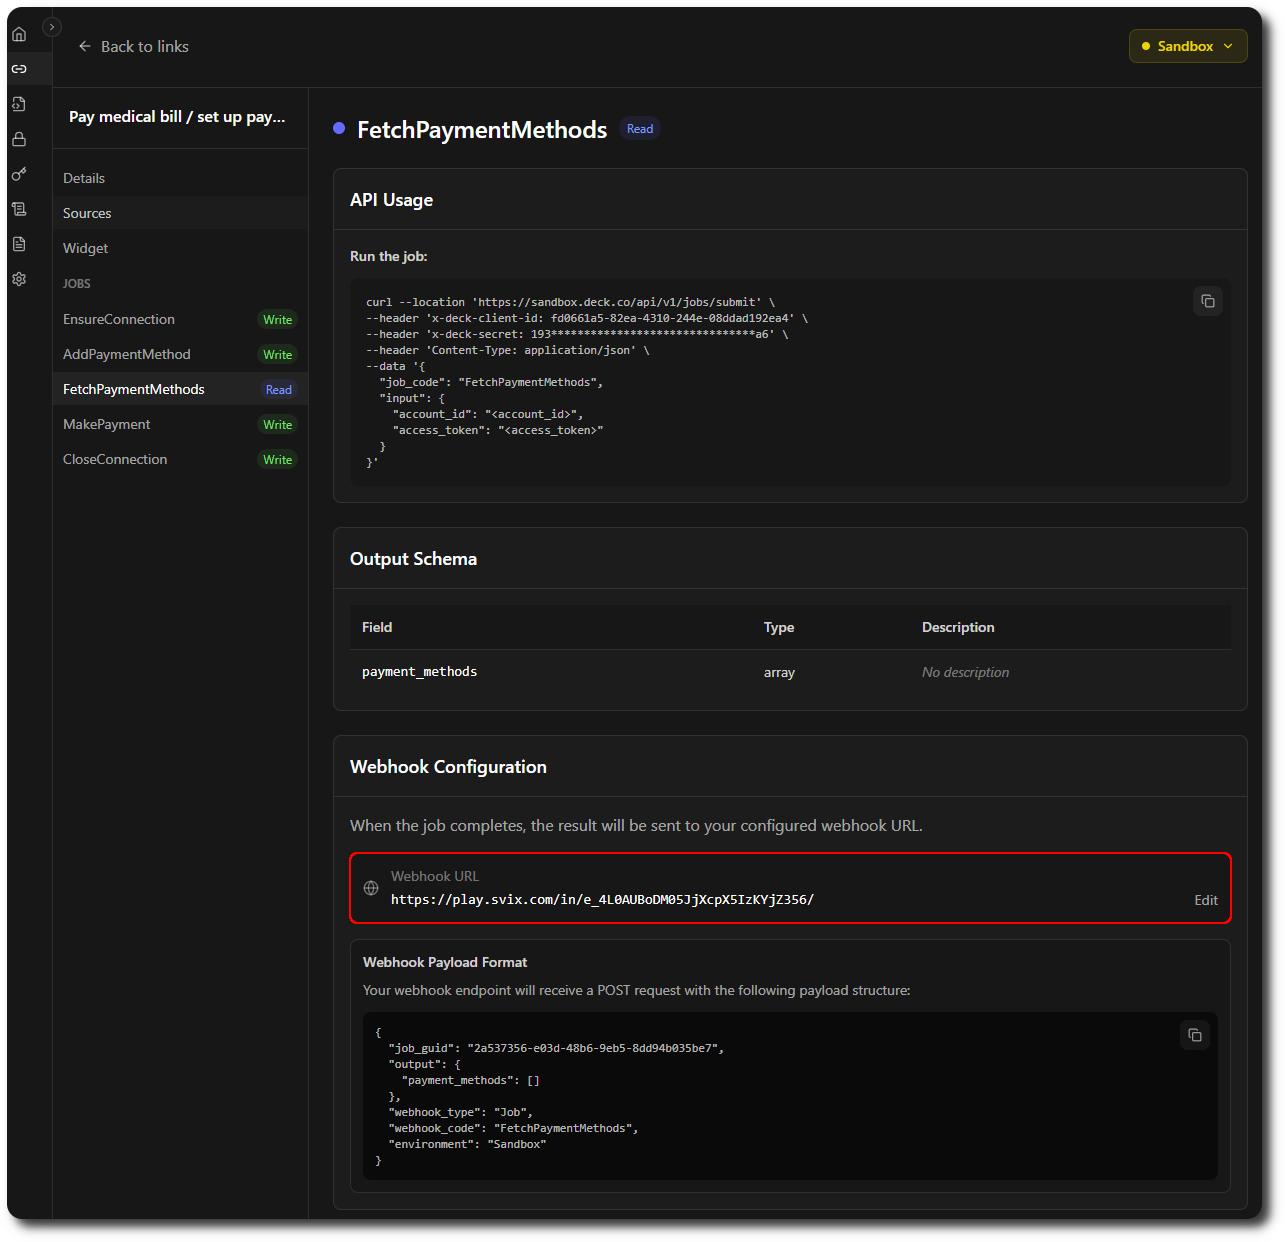
- Your webhook URL is properly set.
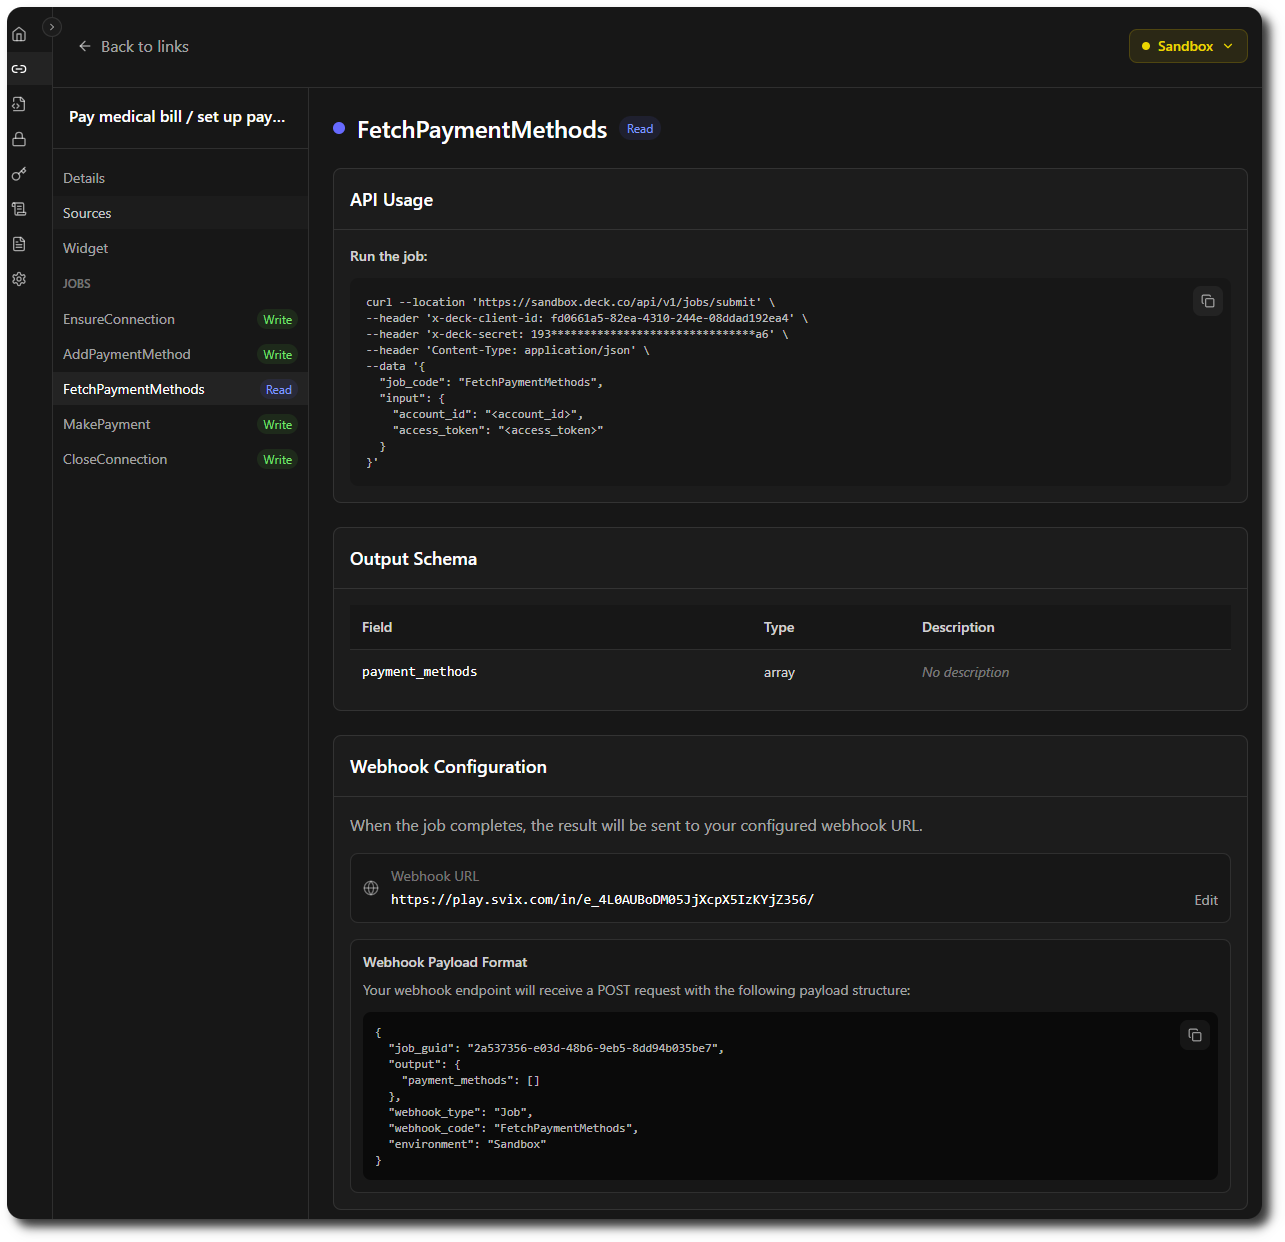
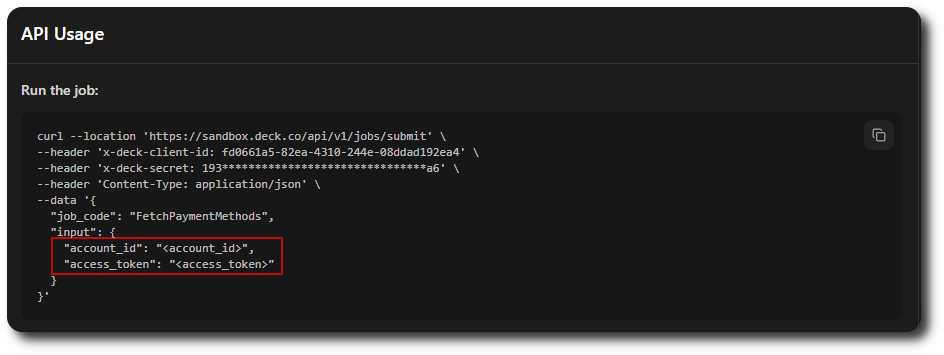
- The inputs required are Access Token (from EnsureConnection) and account_id (from your user/a database/FetchAccounts job) to run FetchPaymentMethods.
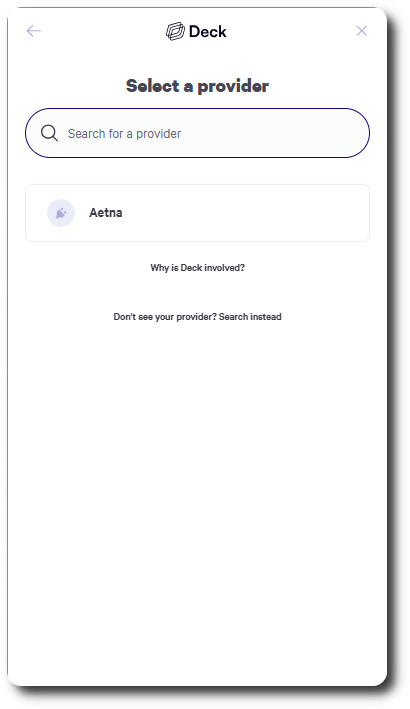
- The current source supported is Aetna. You can add more with the “Add Existing” button, which will list all the sources supported by Deck. If the one you want isn’t in the list, you can add it with the “Create New” button.
- The Widget displays the expected list of sources.
- The Webhook URL is properly set.
Step 4: Setup your Webhook handler
For testing purposes, we encourage you to quickly create a svix url to receive your test webhooks.Step 5: Call EnsureConnection
EnsureConnection is very unique as a Job. It needs to be run first, as it is essential you get your Access Token to run the other jobs. You have two ways of doing so:- Use the Widget by clicking Widget Demo in the EnsureConnection job details.
- Trigger webhooks programmatically according to Quickstart examples
Step 6: Run your other jobs
Execute the jobs you want in Sandbox mode.Now that you have an access token, we can call FetchPaymentMethods.